Welcome to Part III of the Bitbucket Tutorial. here you can find the links to Part I and Part II. This post kicks off with Bitbucket commit, then looks at Branch security and lots more.
Bitbucket commits:
If user want to push changes, then those need to be committed first. Select commits option from left side panel.
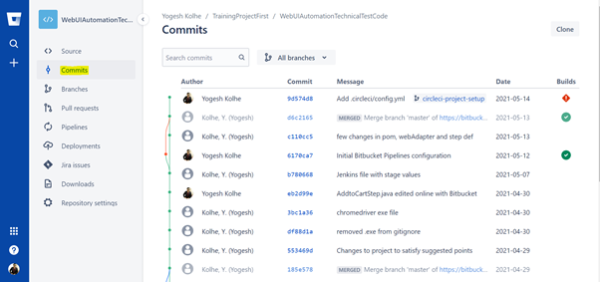
Commit your changes either by using GIT commands or by using IDE. Just for demo purpose changes has been committed online.
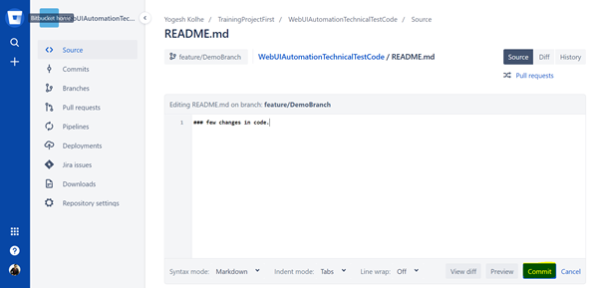
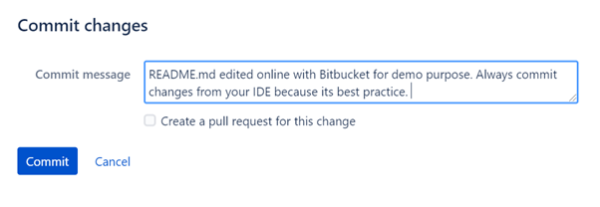
Make sure that commit message is meaningful because it’s helpful for other developers to read and understand code changes.
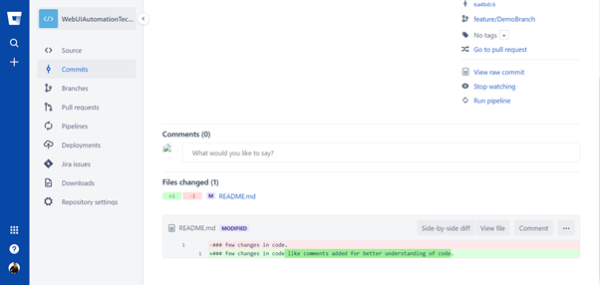
Newly added code will be highlighted in faint green colour and deleted code will be highlighted in faint red colour.
Create Bitbucket Pipelines:
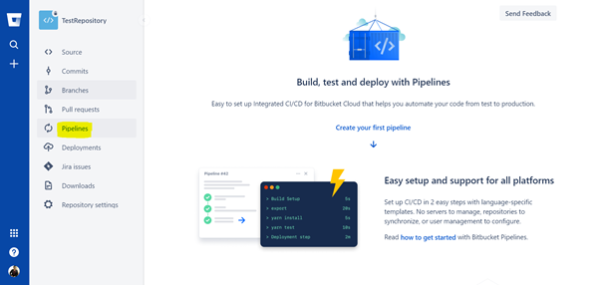
Build, test and deploy can be achieved using pipelines. Select pipelines from left side panel.
Select a template based on your requirement
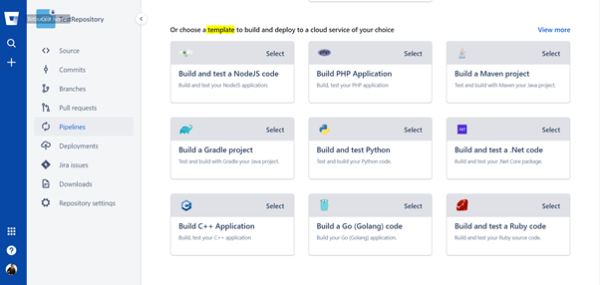
Bitbucket-pipelines.yml file will be generated based on your template selection. Make changes into yml file as per your requirement and commit the file.
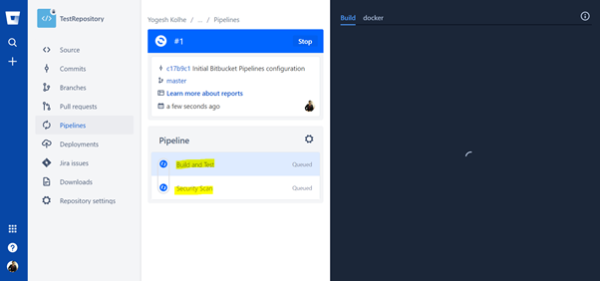
Build will be triggered automatically where phases like build and test are present.
Deployments using Bitbucket:
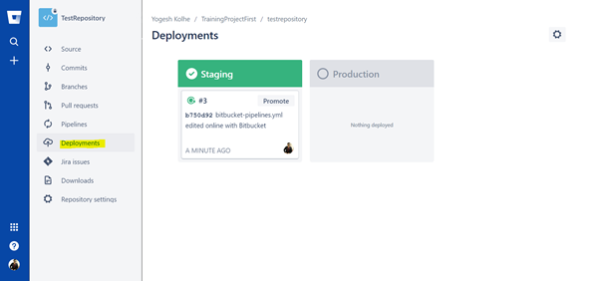
deployment can be done using different tools however bitbucket provide flexibility to deploy on different environments for instance Staging & Production. Select Deployments option from left side panel to perform next required action.
Bitbucket Branch Security:
If you are admin then you will be able to see Repository settings option.
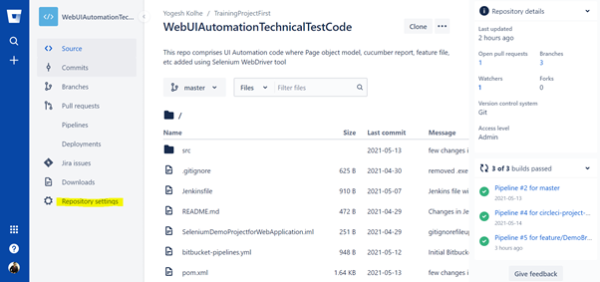
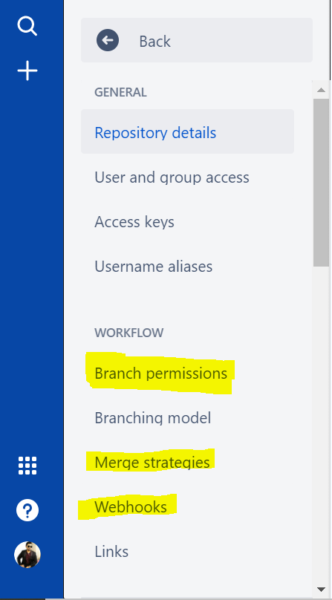
New user can be added/removed using branch permission under Repository settings. Other configurations like merge strategies, Webhooks, Default reviewers, etc can be achieved.
Conclusion
We learned most of the things about bitbucket like creation of new repository, create branch, create pull requests, commit, bitbucket pipelines, bitbucket deployments, etc. In a nut shell we saw like bitbucket simplified how easy complex code management. Thanks for reading.
Check out all the software testing webinars and eBooks here on EuroSTARHuddle.com
Feature Image Copyright Bitbucket
